It really pays off to finally see your work installed!
Ceramic Sculpture: Project One: Details of Darwin
Project One was a long time coming if you ask me!
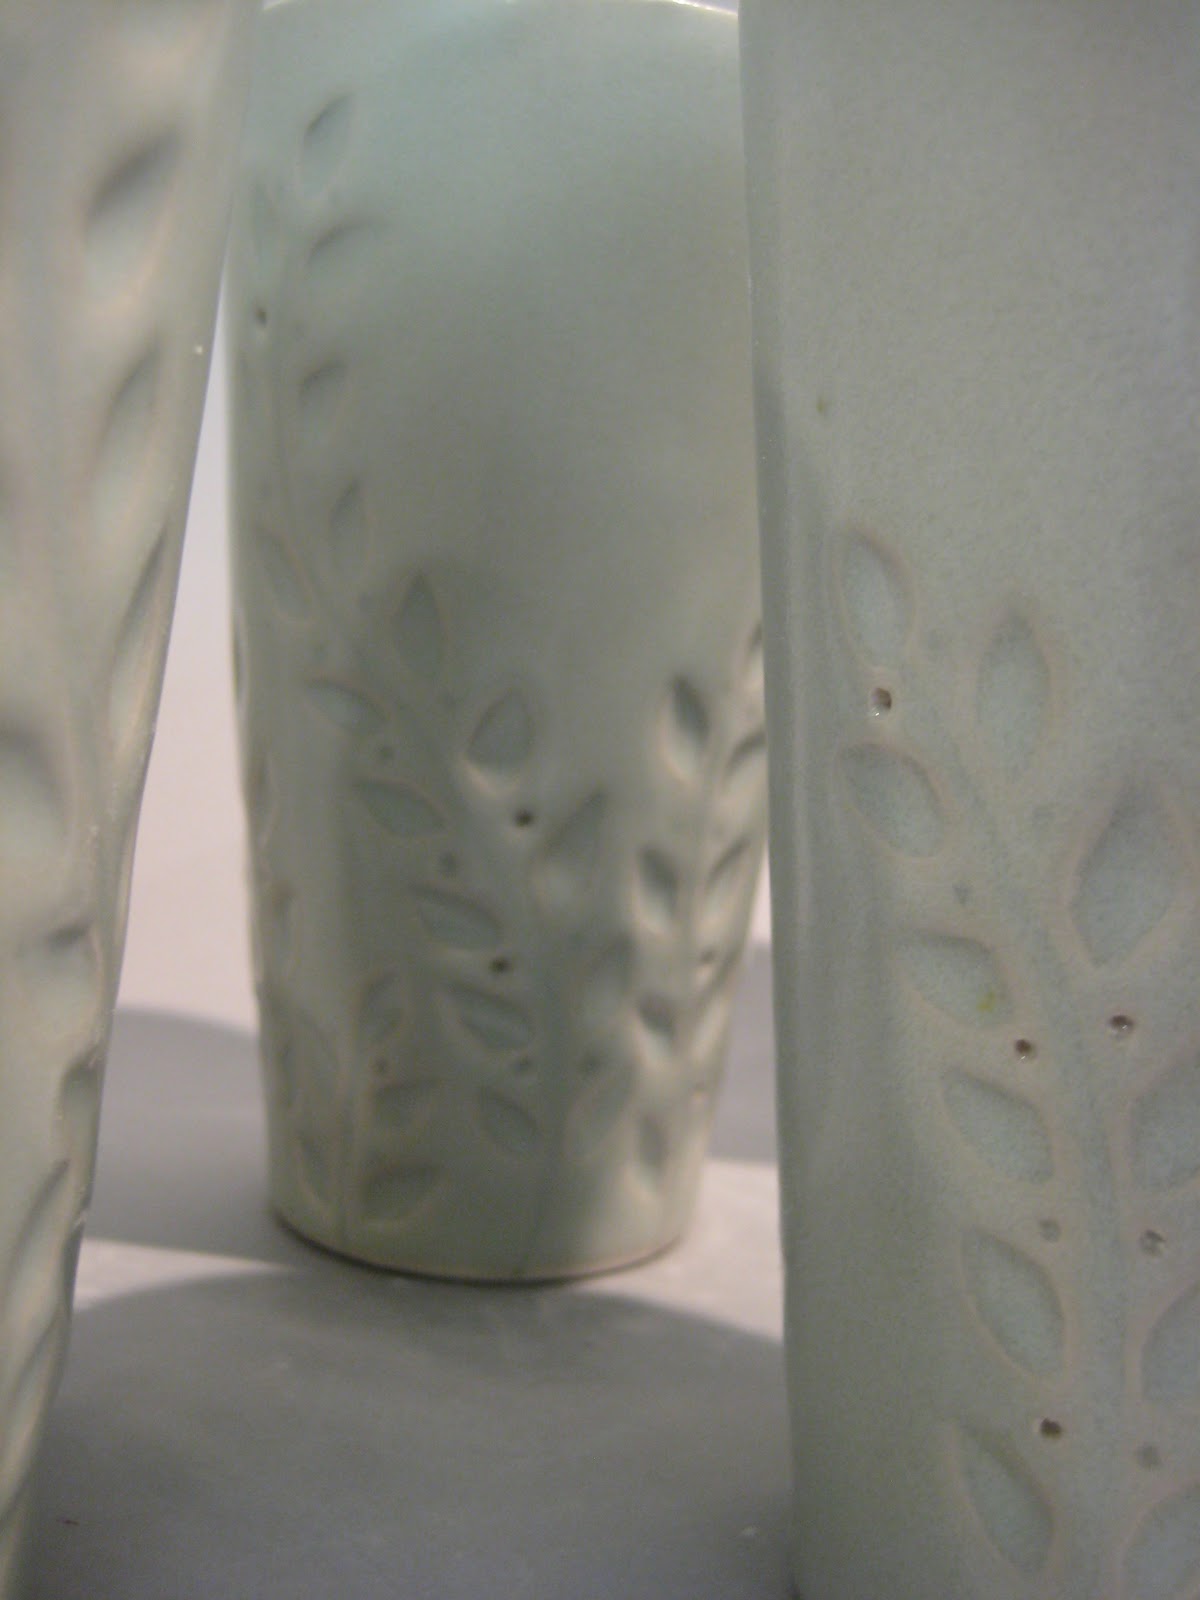
I had decided not to glaze this piece for many reasons. Firstly, I didn't think it would be appropriate to cover up such a beautiful clay body- one so rich and full of depth. In addition to that I didn't feel my original concept called for anything added to the surface..the piece itself is so tactile, any type of additional ceramic surface treatment would take away from it.
Secured to the wall with six perfectly shaped nails by one of my closest friends (due to a couple 3rd degree burns on my fingertips!) this piece hung perfectly with some mood lighting!
Here's some great detail shots!
After a giant explosion, lots of procrastination, and hard work that did a number on my hands, its really nice to finally see an idea go from a simple sketch to a reality.
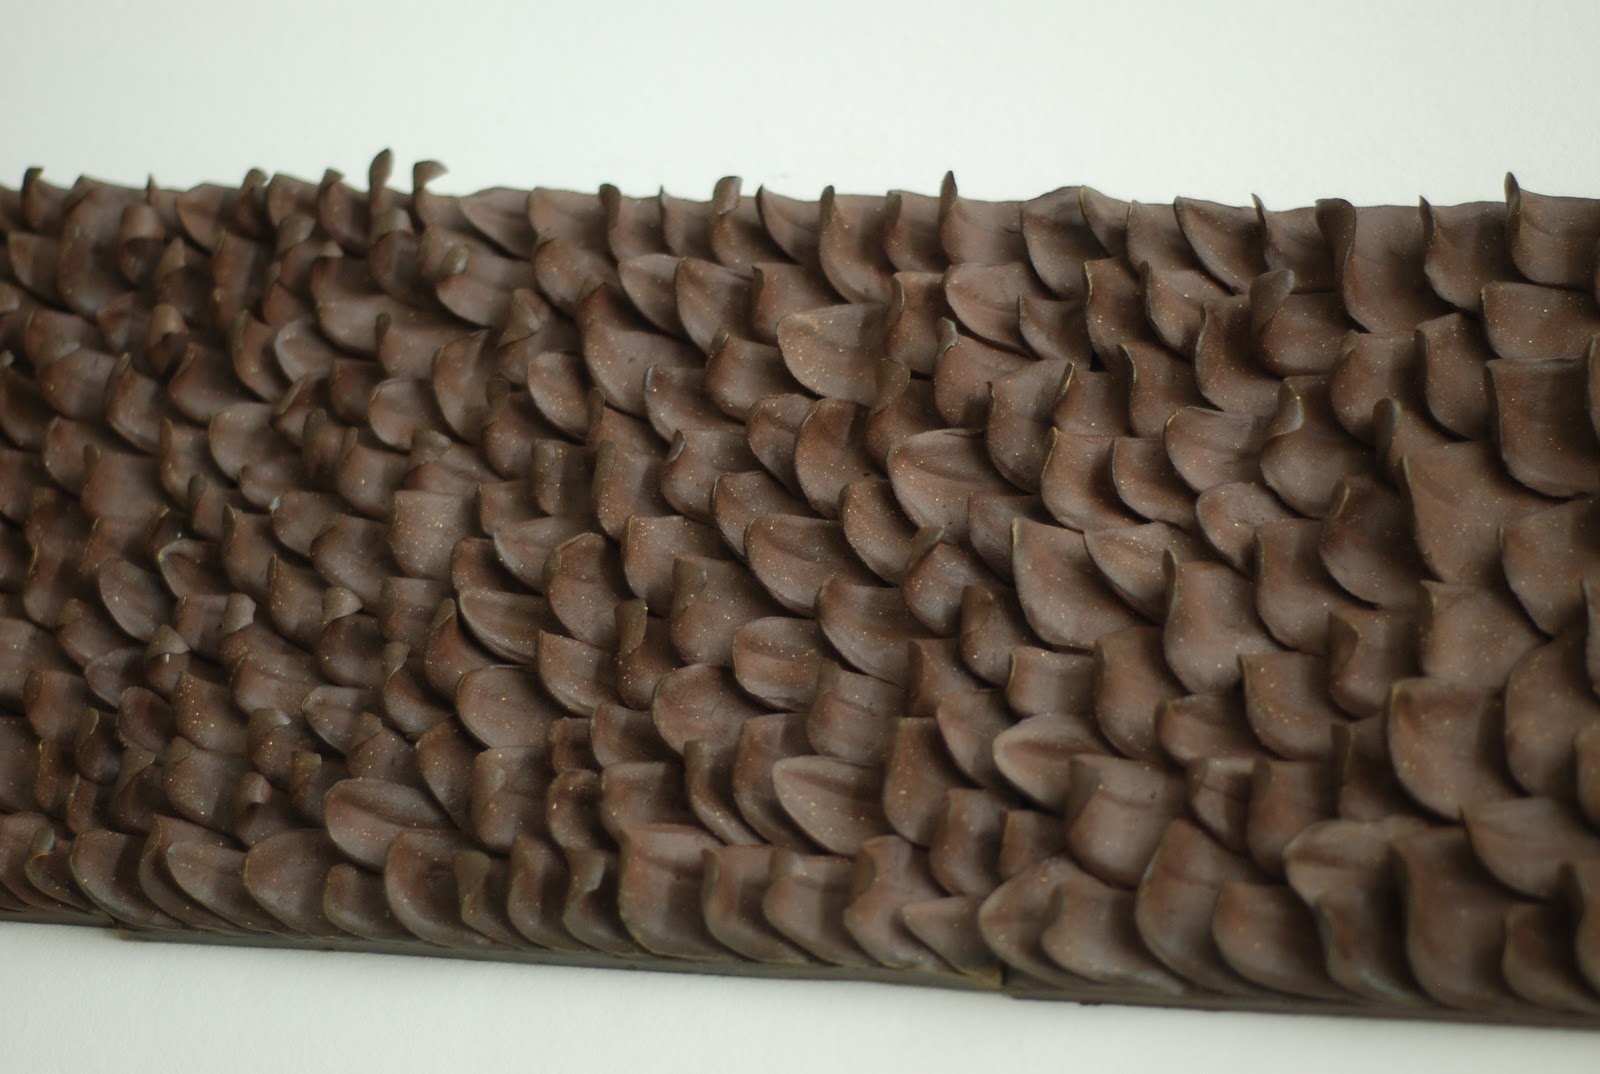
Ceramic Sculpture: Project Three: "Persona"
Time for my little homes to find a home!
My delicate nests were carefully bisque fired perched atop cups made for my surface class. And when I say carefully I mean I fluttered to and from the kiln room and my space carrying one nest and a cup in each hand- arranging them ever so perfectly and efficiently on the shelf! I had also fired some test pieces with which I sprayed different iron oxides on to test color opinions. After sitting with the test results for a while, I decided to fire my nests to temperature without any additional surface treatment. I felt that the mature white porcelain spoke to that sense of calm and clean that I was looking for.
Installing was particularly nerve racking since
I totally couldn't see what I was doing!!
Relaying on help from a friend to guide my one good hand, I placed my nests in the nooks and crannies of the stairwell in the Fine Arts Building. During the firing each piece slumped just enough- naturally and organically, so when I eased each one into its home it sat easily without rolling around. Before I slipped them into place I gently put some of my nondescript "rocks" into each one.
The space I chose worked perfectly with my concept, keeping the pieces out of reach and creating a slight tension with the viewer. It also became a game of eye-spy (which is always fun!), causing the viewer to really search around for all the pieces.
It was fun to use the surrounding area for once in an art installation rather than just hanging something on a wall. I really enjoyed this new way of integrating myself into the world and I hope to do it again soon!


